Tickets
English
Language
Currency
Contents

Picture-perfect Grand Canyon: Best views & photo spots

The Grand Canyon is a masterpiece of nature, carved by time and the Colorado River into a landscape of immense scale and color. Stretching over 270 miles, its layered cliffs, winding trails, and sweeping vistas offer a visual feast for travelers and photographers alike. Whether you’re visiting to snap postcard-worthy shots or to simply soak in the views, each rim reveals something different—and equally spectacular.

Aerial view of Grand Canyon West

South Rim 

The South Rim is the most popular area of the park, and for good reason. It offers easily accessible viewpoints and is open year-round.

View of the Grand canyon

North Rim

The North Rim is higher in elevation and more remote, offering dramatic scenery with fewer crowds. It’s only open from mid-May to mid-October.

North Rim Sunset at Bright Angel Point

West Rim

Privately managed by the Hualapai Tribe, the West Rim is best known for its Skywalk and dramatic cliffside viewpoints. It’s the closest rim to Las Vegas.

Grand Canyon West Rim with scenic rock formations

East Rim / Grand Canyon East

Not officially a "rim," but this area includes stunning photo spots outside Grand Canyon National Park.

View of Grand Canyon's South and North Rim, Arizona.

Want these aerial views in real life? Choose a helicopter tour of the Grand Canyon. 

With tour durations ranging from 15 to 90 minutes and convenient transfers from Las Vegas, Grand Canyon helicopter tours offer unbeatable aerial views of the canyon’s vast and dramatic landscapes.

Top spots to take photos of the Grand Canyon

Grand Canyon Mather Point view with tourists on the rim, Arizona, USA.

📍 South Rim – Classic vistas & iconic viewpoints

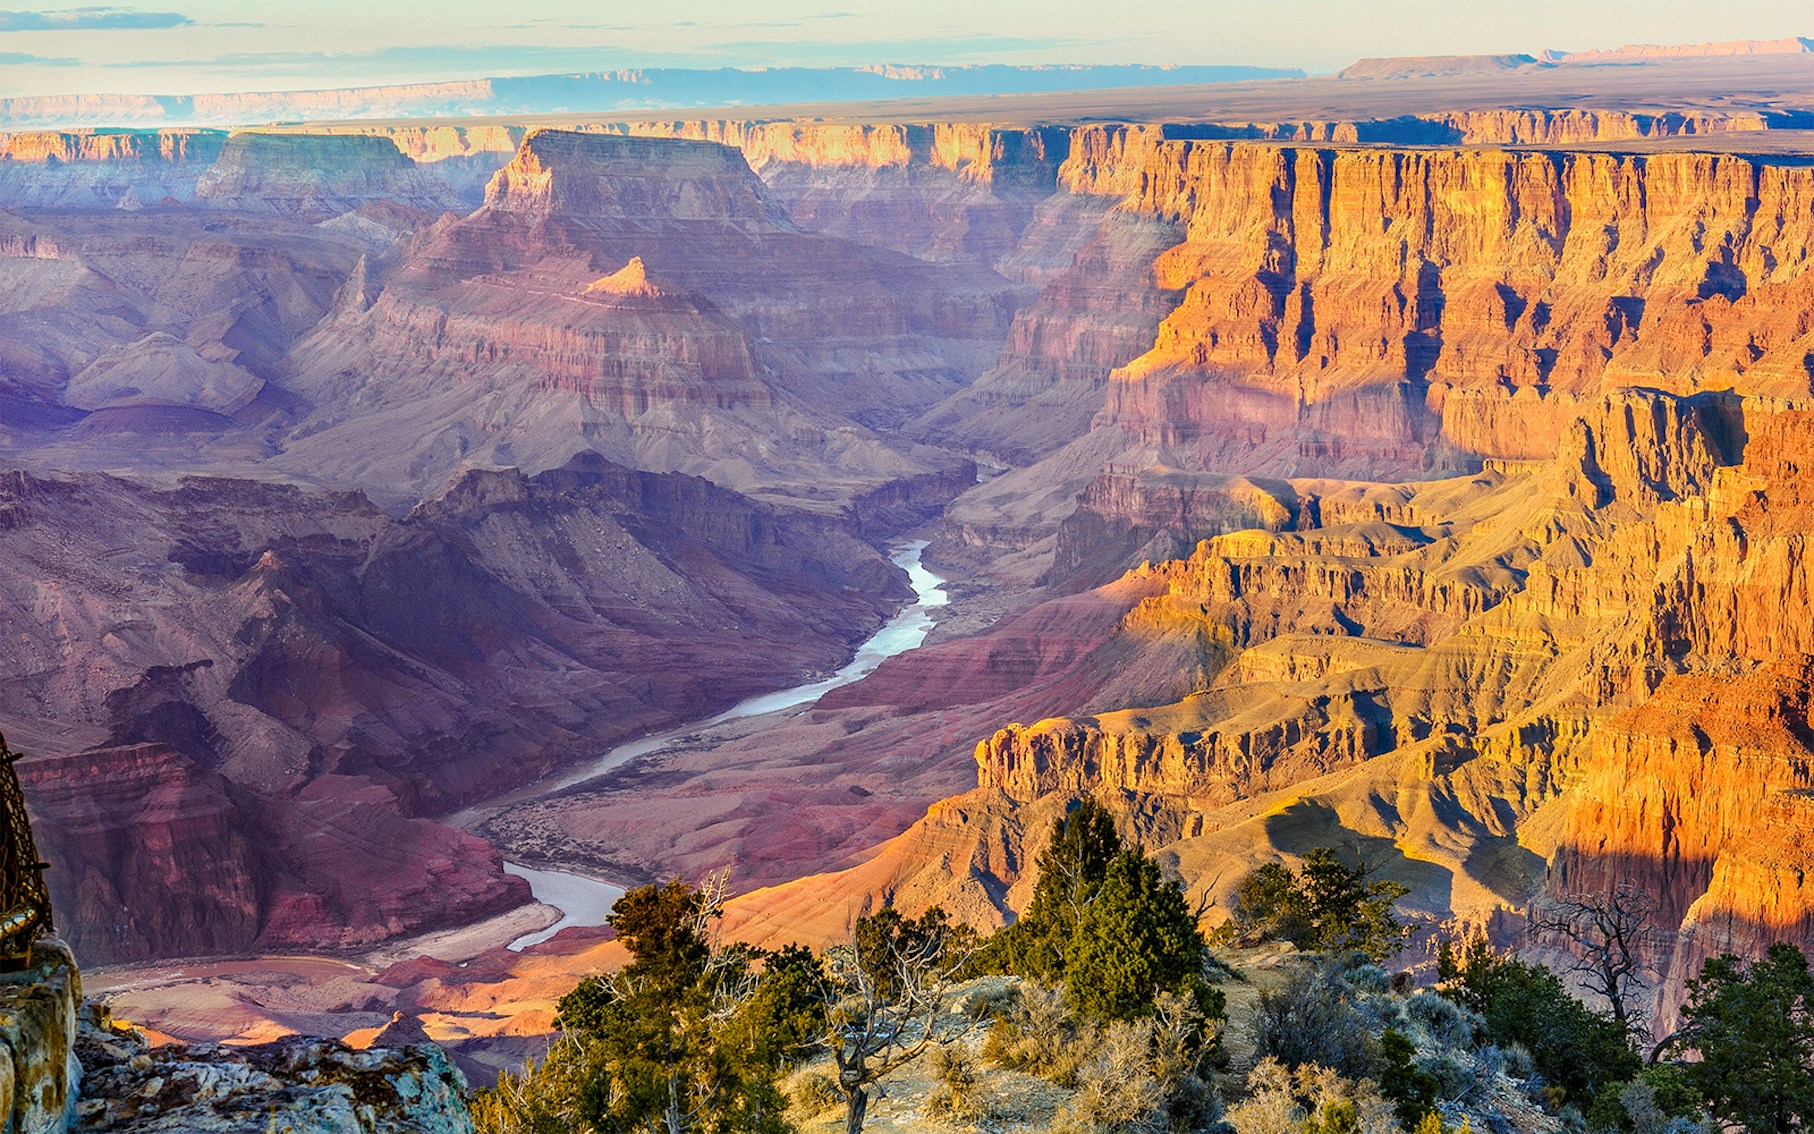
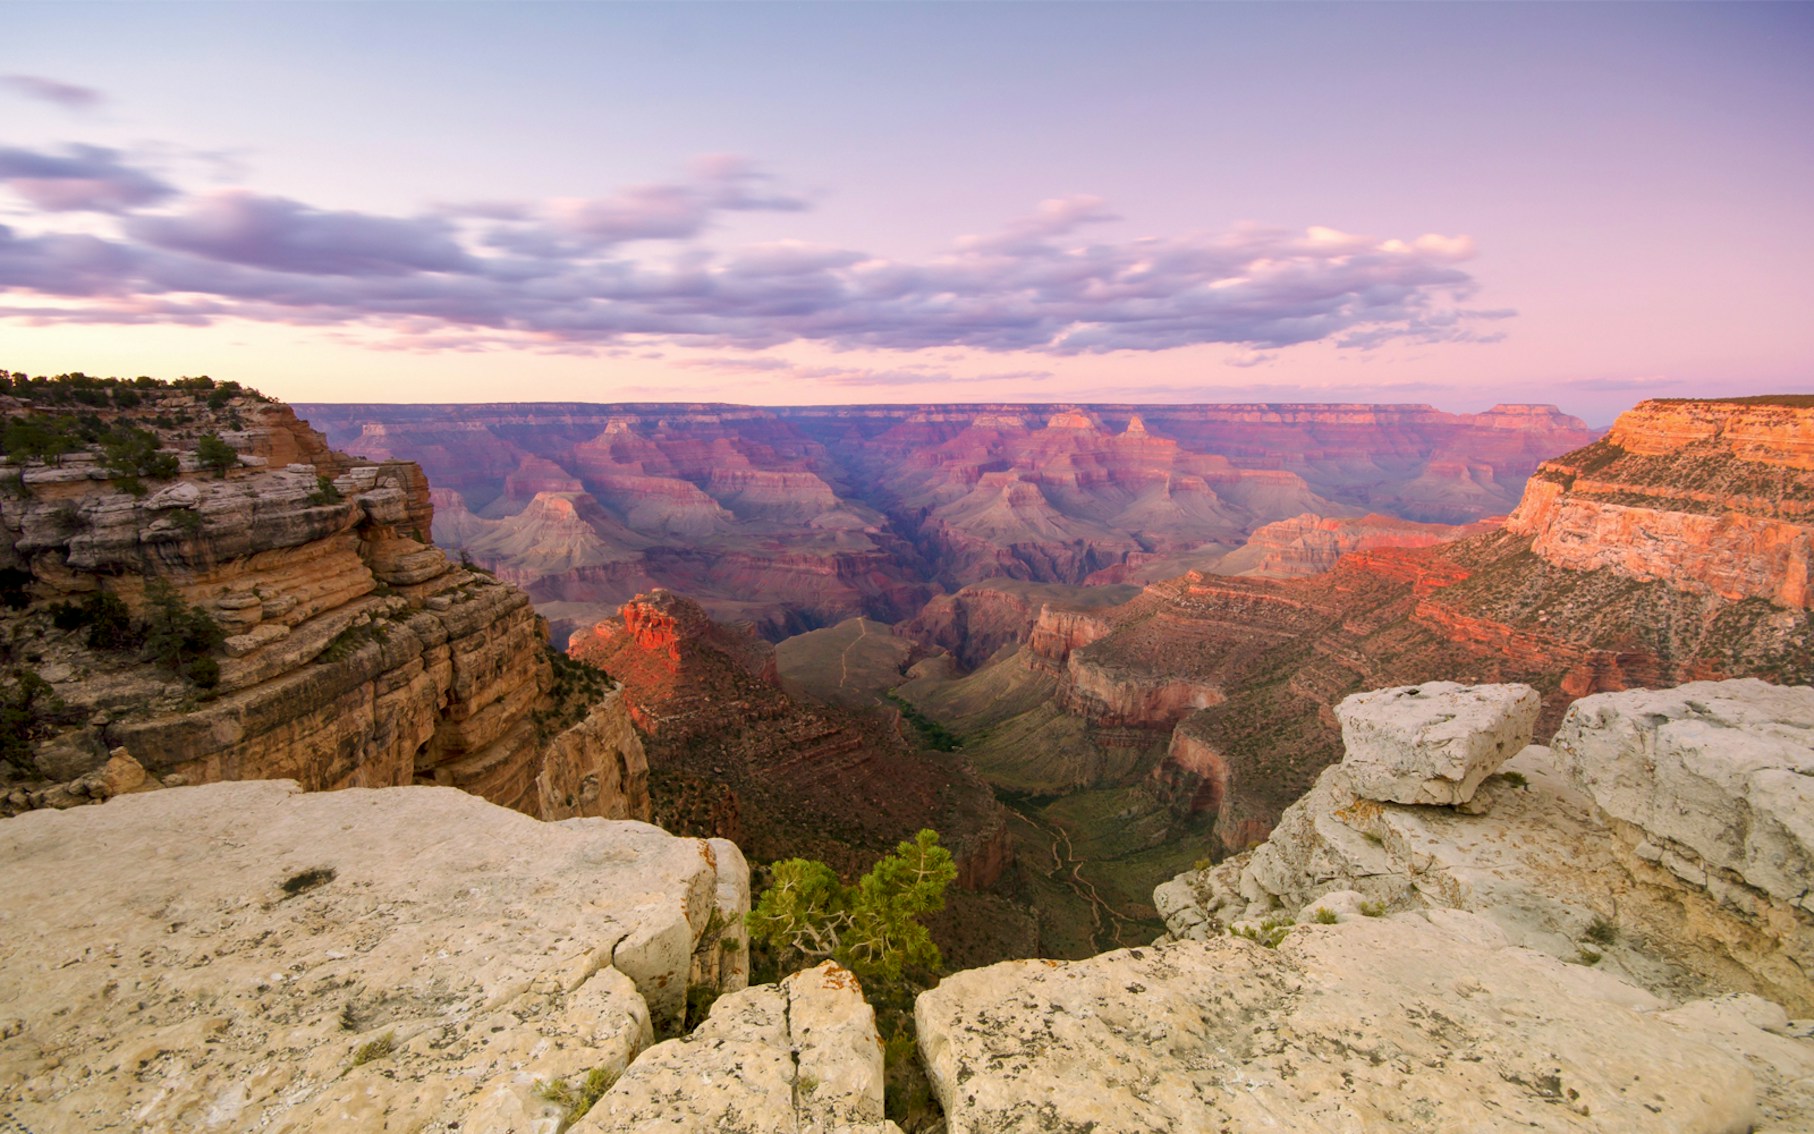
The South Rim is the most accessible and popular part of the canyon, known for sweeping views and well-developed lookout points.

  • Mather Point: One of the most photographed spots—ideal for sunrise, with expansive canyon views and easily accessible from the Visitor Center. (Find on Maps)
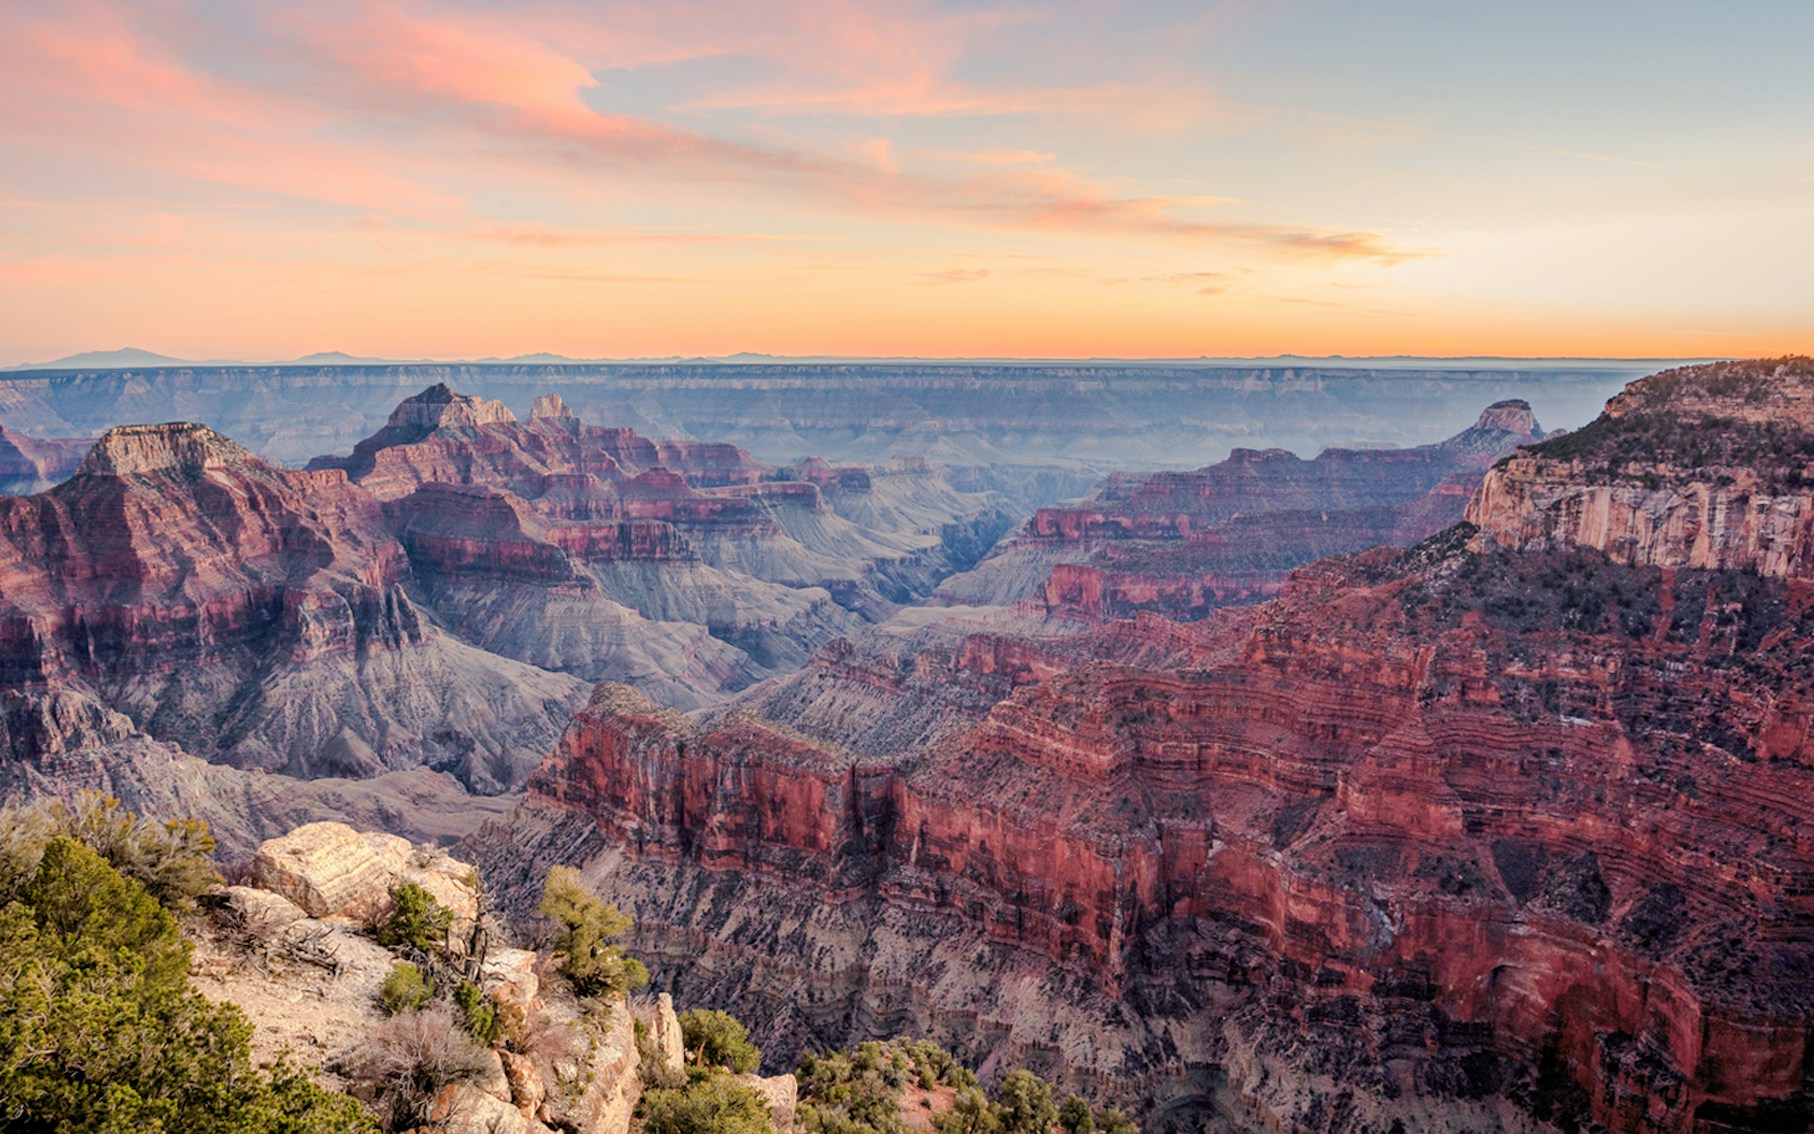
  • Yavapai Point: Offers panoramic vistas with layered rock formations; great at both sunrise and sunset due to its wide field of view. (Find on Maps)
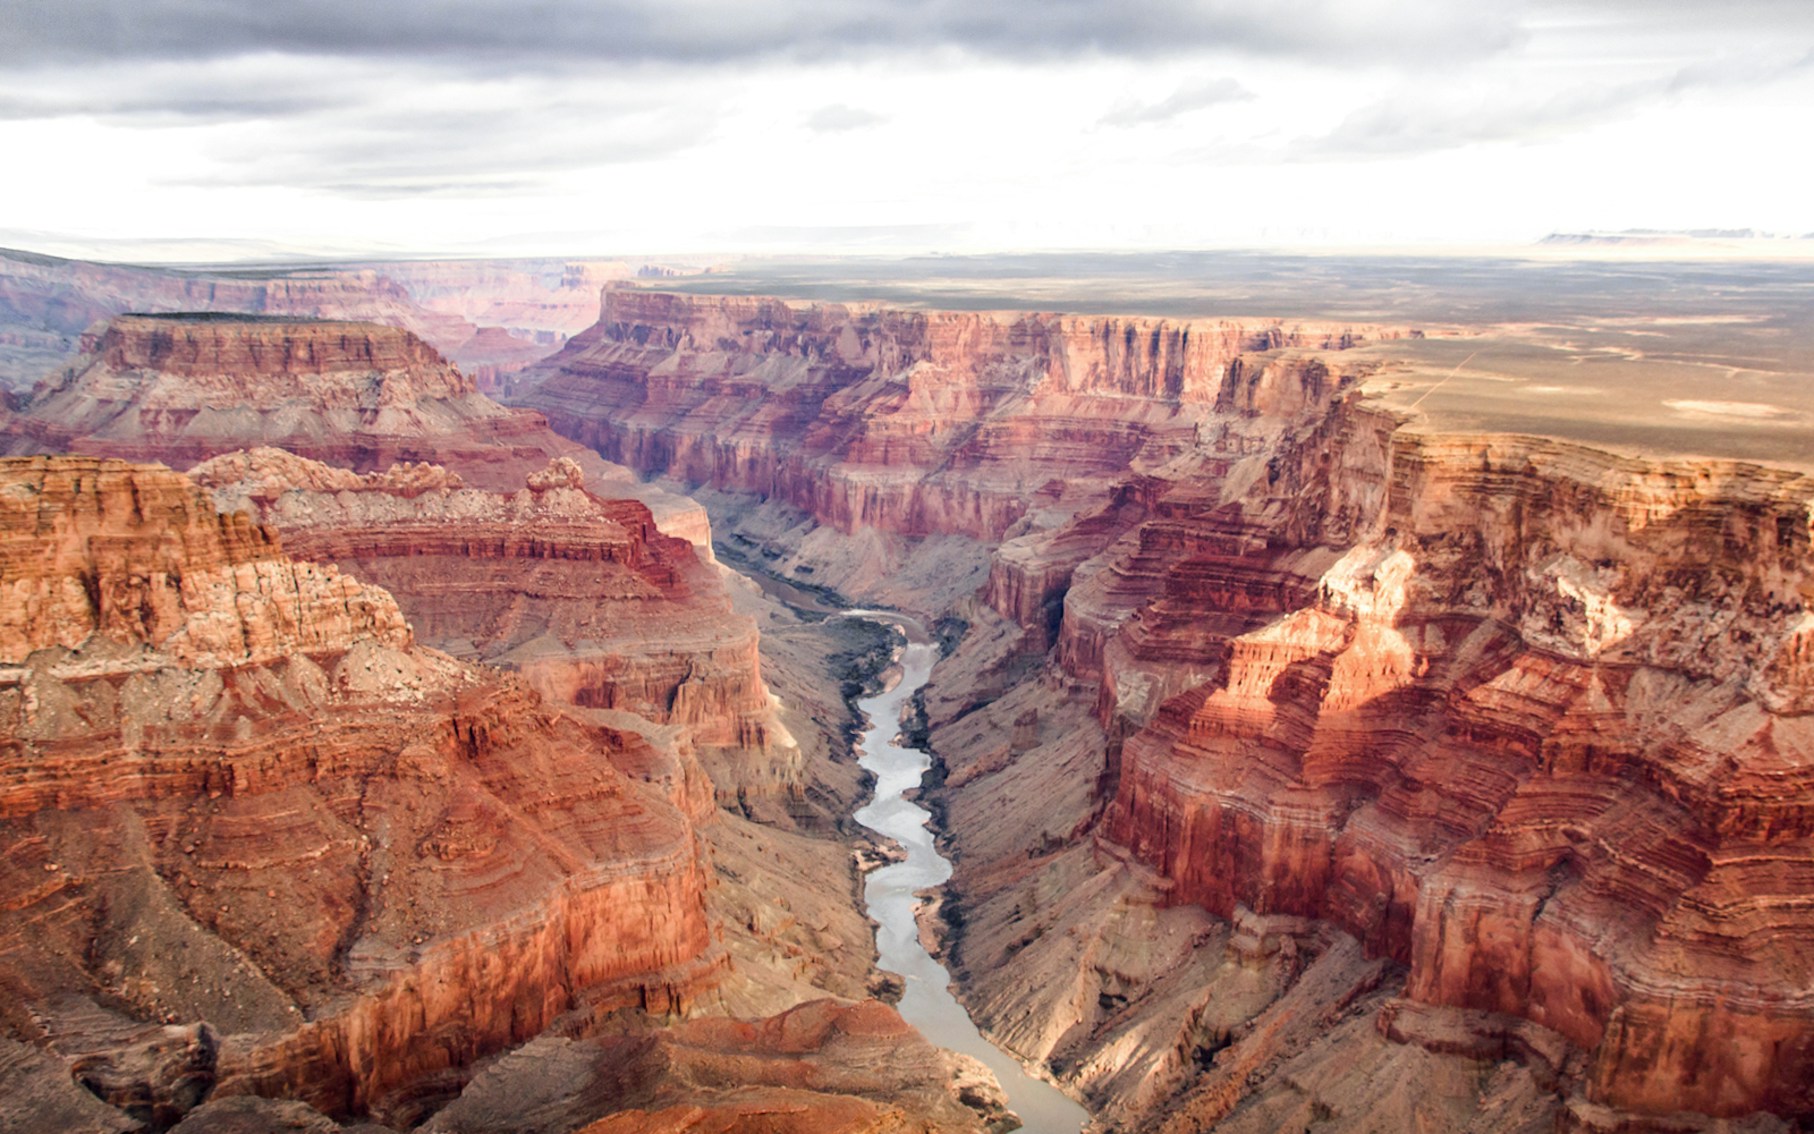
  • Desert View Watchtower: Photograph the historic stone tower with the canyon in the background, plus unique eastern views of the Colorado River. (Find on Maps)
  • Ooh Aah Point: Located along the South Kaibab Trail, this moderately short hike rewards you with a stunning overlook of the inner canyon. (Find on Maps)
  • Hopi Point: Famous for sunset photography, offering one of the widest and deepest views into the canyon. (Find on Maps)
Grand Canyon's North Rim at sunset near Bright Angel Point.

📍 North Rim – Lush scenery & elevated perspectives

Open seasonally, the North Rim sits at a higher elevation and offers a quieter, more rugged photography experience.

  • Bright Angel Point: A short, scenic walk leads to a dramatic overlook perfect for wide-angle shots of canyon ridges and valleys. (Find on Maps)
  • Cape Royal: Ideal for sunset photography with a sweeping view that includes the Colorado River and Wotans Throne. (Find on Maps)
  • Point Imperial: The highest viewpoint at the Grand Canyon, offering a unique perspective of the Painted Desert and eastern canyon formations. (Find on Maps)
  • Roosevelt Point: A hidden gem with interpretive signage, offering tranquil views and easy photo opportunities without much foot traffic. (Find on Maps)
Guano Point view from Grand Canyon West Airplane Tour, showcasing rugged cliffs and expansive canyon landscape.

📍 West Rim – Dramatic cliffs & thrilling perspectives

Privately managed by the Hualapai Tribe, this rim offers jaw-dropping viewpoints and easy access from Las Vegas.

  • Eagle Point: Home to the Grand Canyon Skywalk and a cliff that resembles an eagle with outstretched wings—fantastic for dramatic canyon shots. (Find on Maps)
  • Guano Point: Panoramic, 360-degree views from a rocky peninsula make this a must-shoot location for photographers who want a sense of depth and isolation. (Find on Maps)
  • Skywalk (note: no cameras allowed on the glass bridge): While you can’t take photos on the bridge itself, nearby areas offer great vantage points of this engineering marvel and the canyon drop below. (Find on Maps)
  • Highpoint Hike: A short, optional trail from Guano Point that leads to an even higher overlook—ideal for sunset. (Find on Maps)
Aerial view of the stunning Horseshoe Bend during a helicopter tour, showcasing the unique natural beauty of this popular tourist attraction

📍 East Rim / Grand Canyon East

Technically outside the main park boundaries, these spots lie east of the South Rim and offer some of the most photographed locations in the region.

  • Horseshoe Bend: One of the most iconic views in the American Southwest, this sweeping curve in the Colorado River is best photographed in the late afternoon. (Find on Maps)
  • Little Colorado River Gorge: Less visited but visually stunning, this gorge offers turquoise river views and dramatic drop-offs. (Find on Maps)
  • Navajo Point: The highest overlook on the South Rim, located just before Desert View—perfect for wide panoramic shots. (Find on Maps)
  • Marble Canyon (near Lee’s Ferry): Great for capturing the beginning of the Grand Canyon’s formation, with colorful rock layers and river bends. (Find on Maps)
Pro tip: Photo spots with the least crowds

Want epic shots without the tourists in frame? Try these lesser-known gems: - Shoshone Point (South Rim) – Permit required, but usually empty. - Cape Final (North Rim) – A short hike with rewarding views. - Tuweep Overlook (North Rim) – Requires 4WD but rarely crowded.

Pro tip: Photo spots with the least crowds

Photo tips & camera gear recommendations

Whether you're using a smartphone or DSLR, a few tips can elevate your photos:

  • Time your visit wisely: The best light for photography is during sunrise and sunset, when the canyon walls glow with warm, golden hues and shadows add depth to your shots.
  • Bring a sturdy tripod: For sharper images in low light or to shoot time-lapses, a lightweight tripod (or phone stabilizer) helps eliminate blur from shaky hands.
  • Use a wide-angle lens: This captures the vastness and scale of the canyon, making it ideal for sweeping landscape shots.
  • Turn on HDR mode: High Dynamic Range (HDR) mode on smartphones can help balance bright skies and darker canyon details, resulting in a more evenly exposed photo.
  • Pack extra batteries: Cold mornings and long days can drain your batteries quickly. Always bring extras to avoid missing the perfect shot.
  • Use a polarizing filter: If you're using a DSLR or mirrorless camera, a polarizing filter can reduce glare and enhance the blue of the sky and the color contrast in rock layers.
  • Scout locations in advance: Plan where you want to shoot based on the time of day and lighting. Apps like PhotoPills or The Photographer’s Ephemeris can help track sun positions.
  • Avoid zooming in digitally: Instead of pinching to zoom, move closer or crop later. Digital zoom reduces image quality—especially in phone cameras.

Photographer in Grand Canyon, Arizona.

Frequently asked questions about Grand Canyon photography

Do I need a permit for professional photography?

 Yes, if you're using models, props, or planning a commercial shoot.

Can I fly a drone in the Grand Canyon?

 No, drones are not permitted anywhere within Grand Canyon National Park.

When is the best time of year for photography?

Spring (March–May) and Fall (September–November) offer the best light and weather.